The Preferences tab is found on the settings page of your Paystack Dashboard. This where you can make changes to how you want Paystack to work for you. You get the option to toggle each of these preferences on or off to give both you and your customers a curated experience.
Let's see how each of these preferences affect your business and your customers:

1. Payments
This lets you decide the channels through which you want your customers to be able to pay you. The payment channels you see here are specific to your country and we offer various ways for your customers to pay, here is a full list here: Payments.
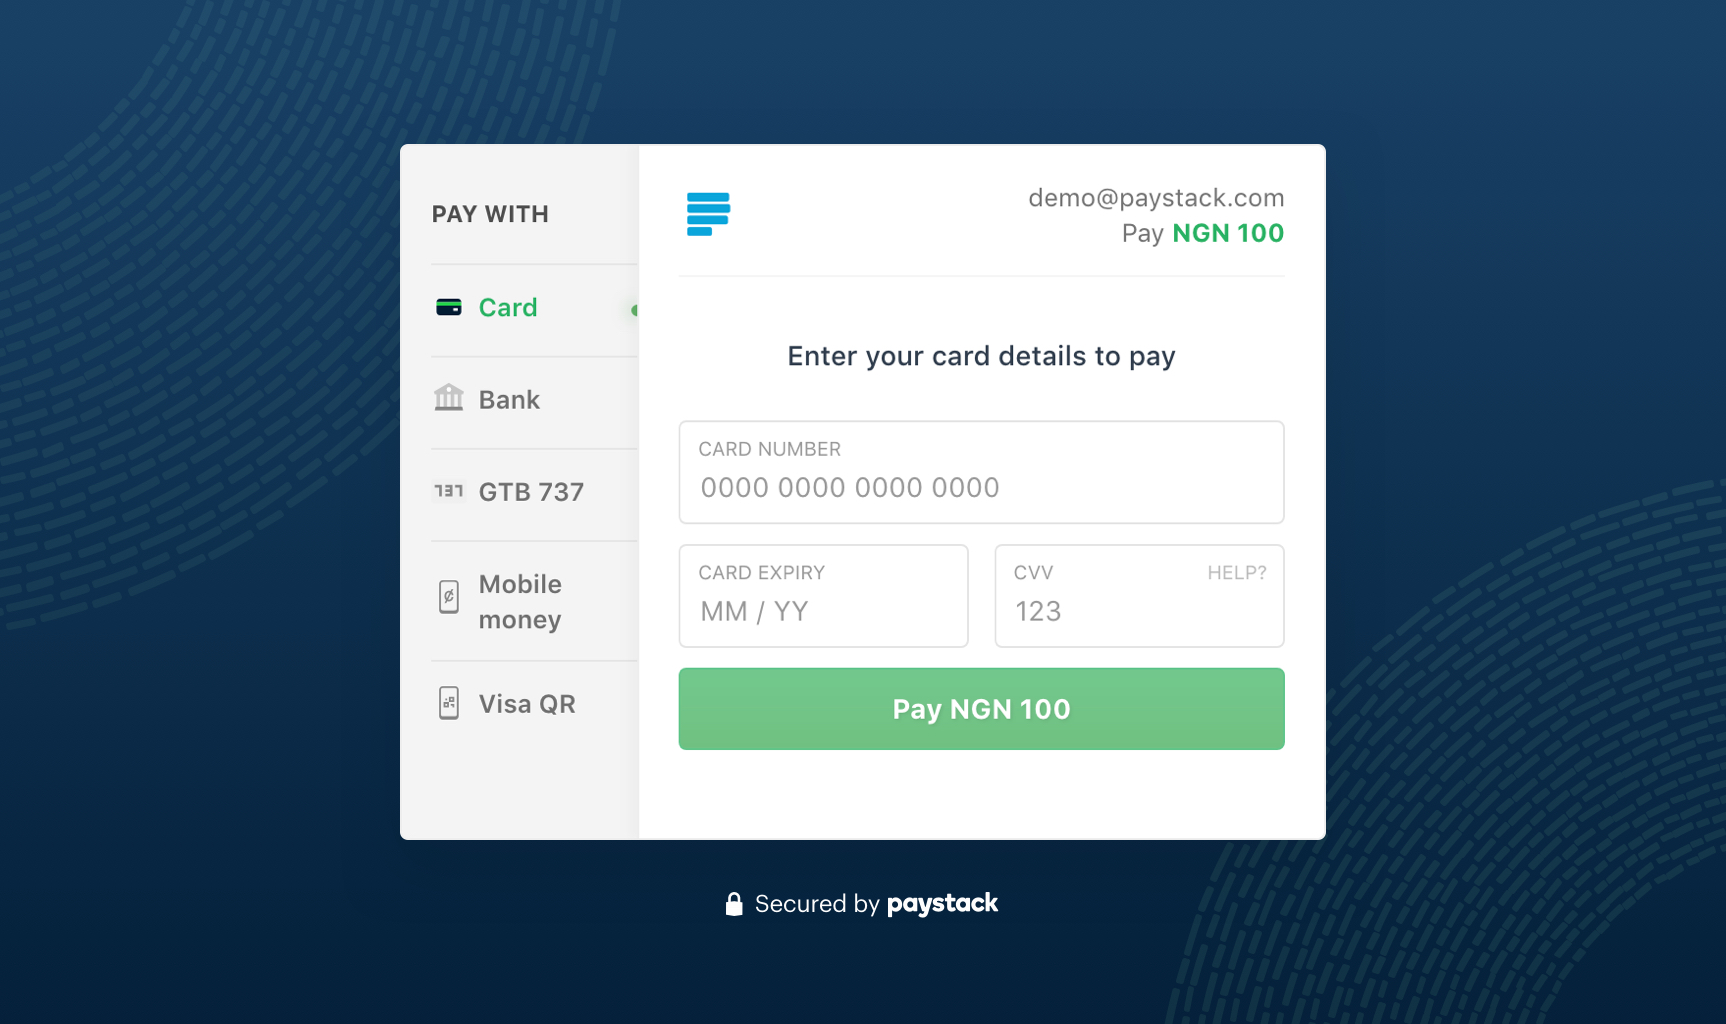
We believe that the more options your customers have when trying to pay you, the more likely it is that their transaction will be successful - this is why we advise that you select all of the options. When your customers click the Checkout/Pay button on your website, they'll see a pop-up similar to the one below.

2. Transaction Receipts
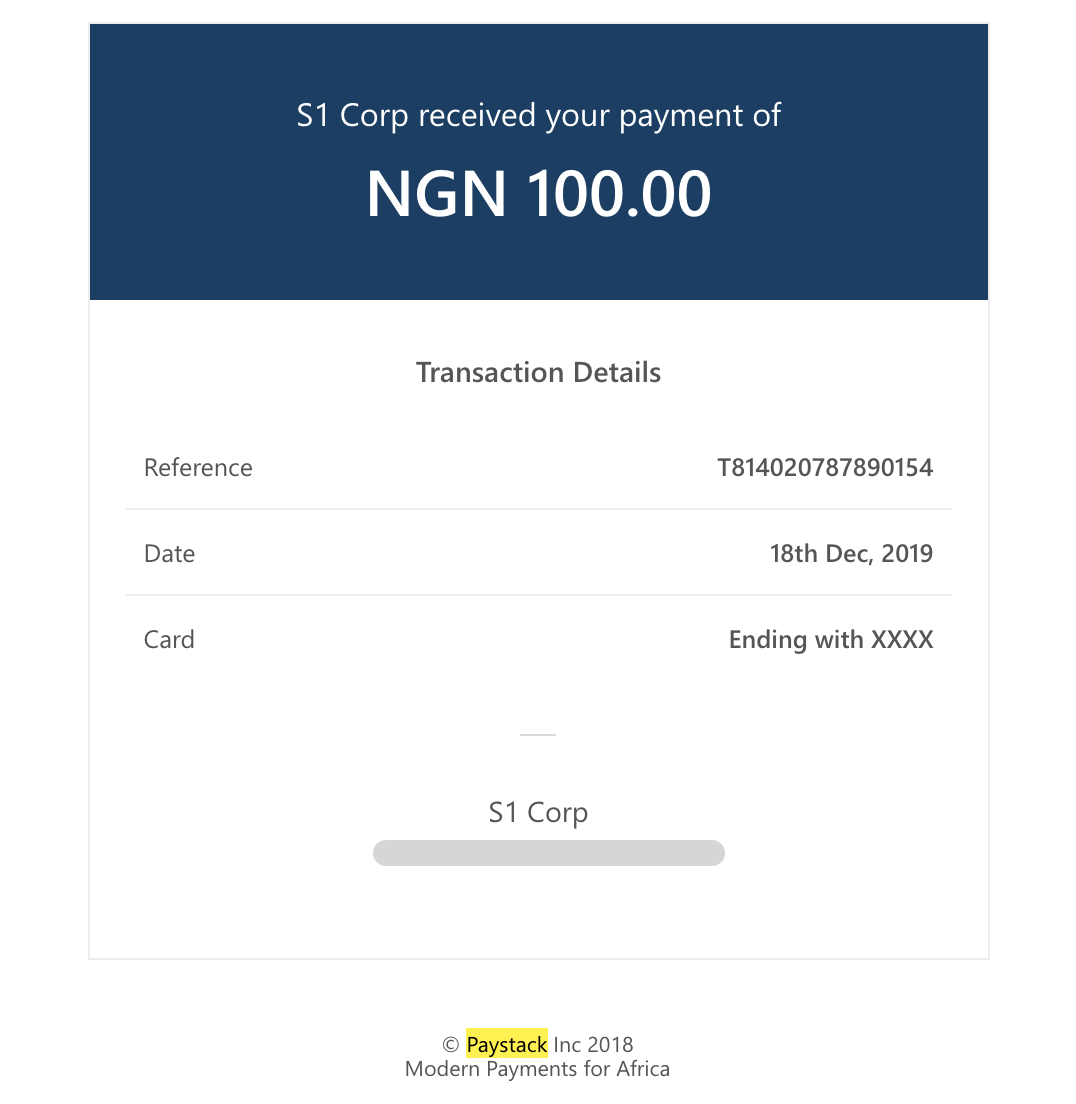
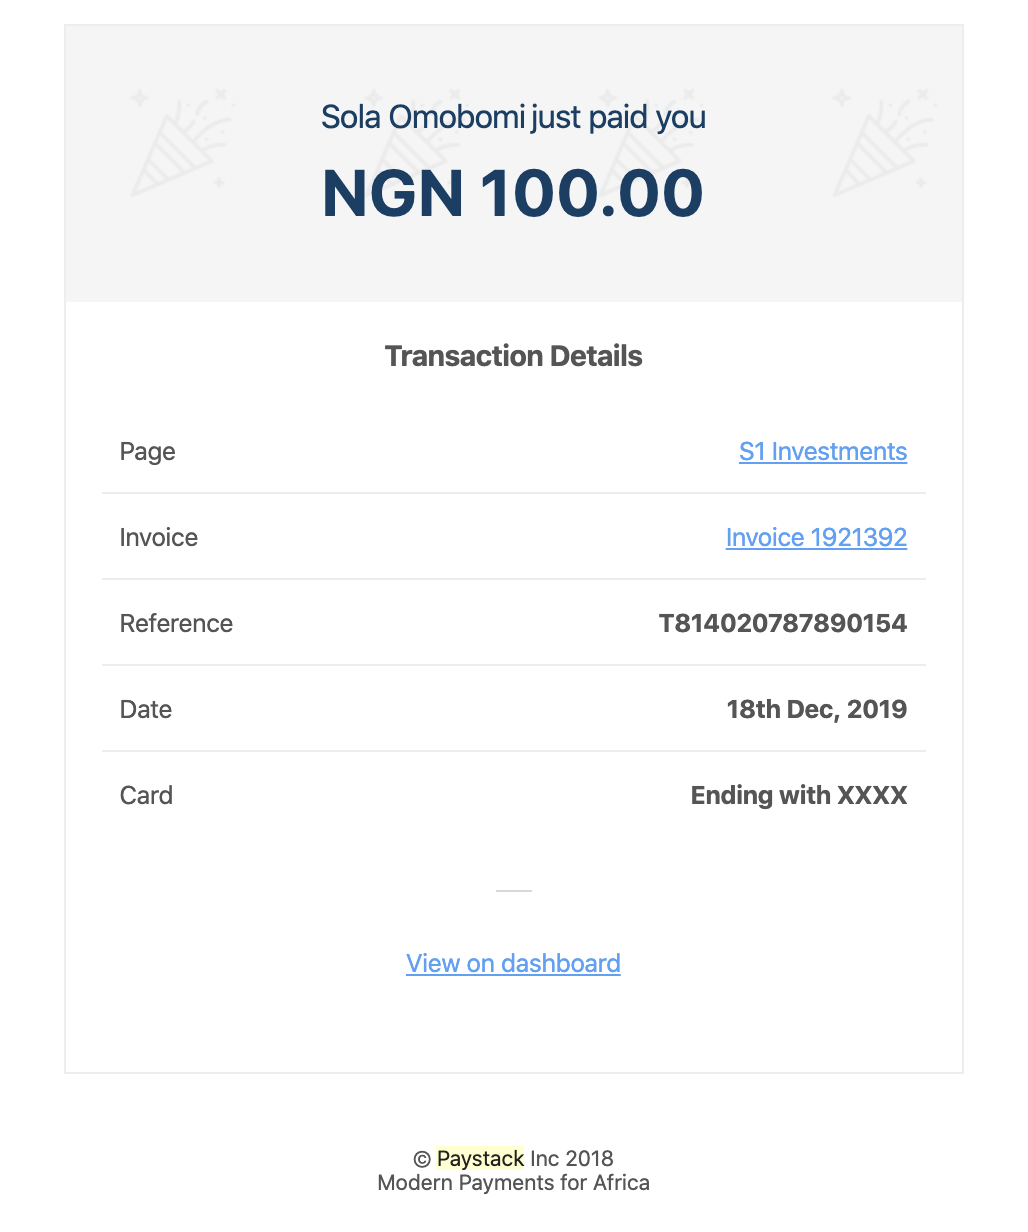
Here you can decide whether we should email transaction receipts to you and your customers. We send these receipts whenever a customer makes a successful payment. These receipts will carry a reference code which enables you to track the transaction on your dashboard and platform. Here are images of how they look, the customer's receipt is on the left and merchant receipt is on the right.


3. International Payments
Here you can request to receive international payments for your business. Once your request has been granted, you can toggle it on or off as you require. You can learn more about International Payments here.
4. Transfer Receipt
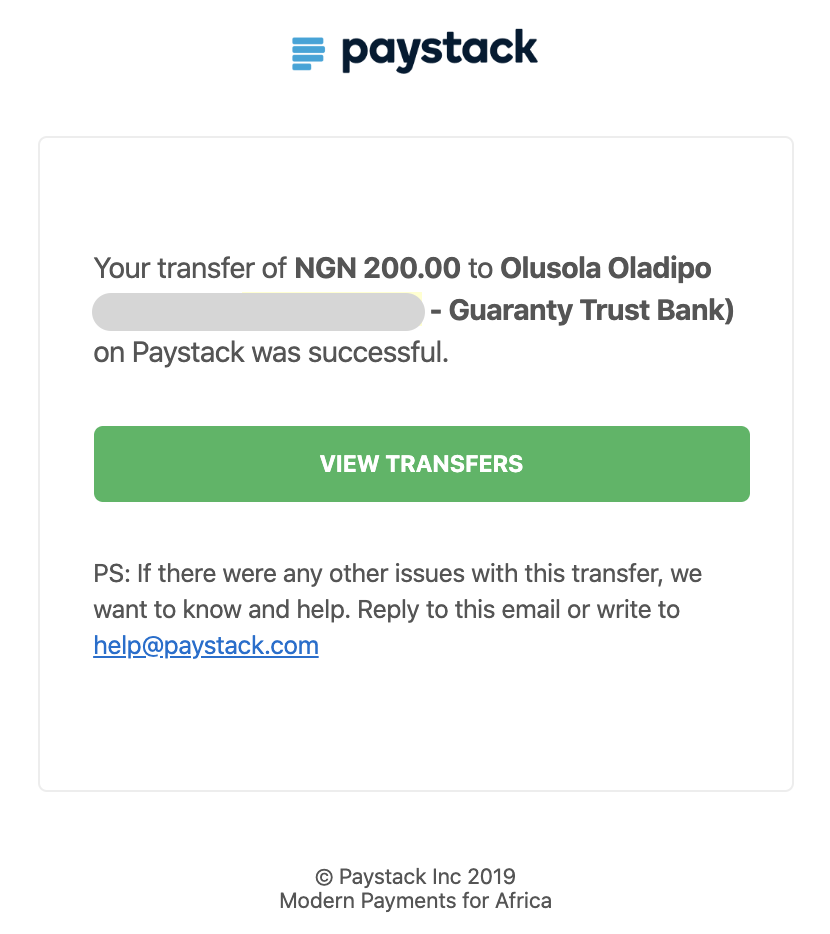
This lets you decide whether we should send transfer receipts to you and your customers. These receipts notify both parties that a transfer has been made to the recipient's bank account.

Important to Note
We are only able to send transfer receipts to recipients that have email addresses specified. If an email address is not provided when creating the recipient, then we have no way to notify them.
5. Transfer Confirmation
If you would like to confirm transfers with an OTP before sending them you have the option to do so. If you toggle this on, every transfer made through the dashboard will require an OTP to be approved. This OTP is sent to the phone number tied to your Paystack profile as well as your profile email address.
6. Payout Schedule
Here, we show you the payout plan you're on. This varies by country, to see the payout schedule for yours please visit When will I receive my Payouts?
7. Delete Test Data
You're able to experiment with the various Paystack tools without hesitation while the Dashboard is set to Test Mode. You can delete this info at any time by clicking 'Delete test data'. The test data deleted will include:
- Test transactions
- Test Payment Pages
- Test customers, etc.

Comments
0 comments
Article is closed for comments.